After some research I had the basic idea. Here are the steps I took to give this table a little make-over.
 |
| Ready with my stencil purchased from Michael's and my dainty roller. I bought stencil spray adhesive, but it just seemed like I would turn into a sticky mess so instead I secured the stencil with tape. It works well as long as you make sure your roller has a LIGHT coat of paint. Here we go. |
 |
| First square done. I used a robin's egg blue to complement the yellow. This one definitely took the longest. Once I had the second square lined up it was smooth sailing. |

 |
| I soon realized that by how I had placed the stencil, I would have to go back and fill in the edges at the end. Oops. |
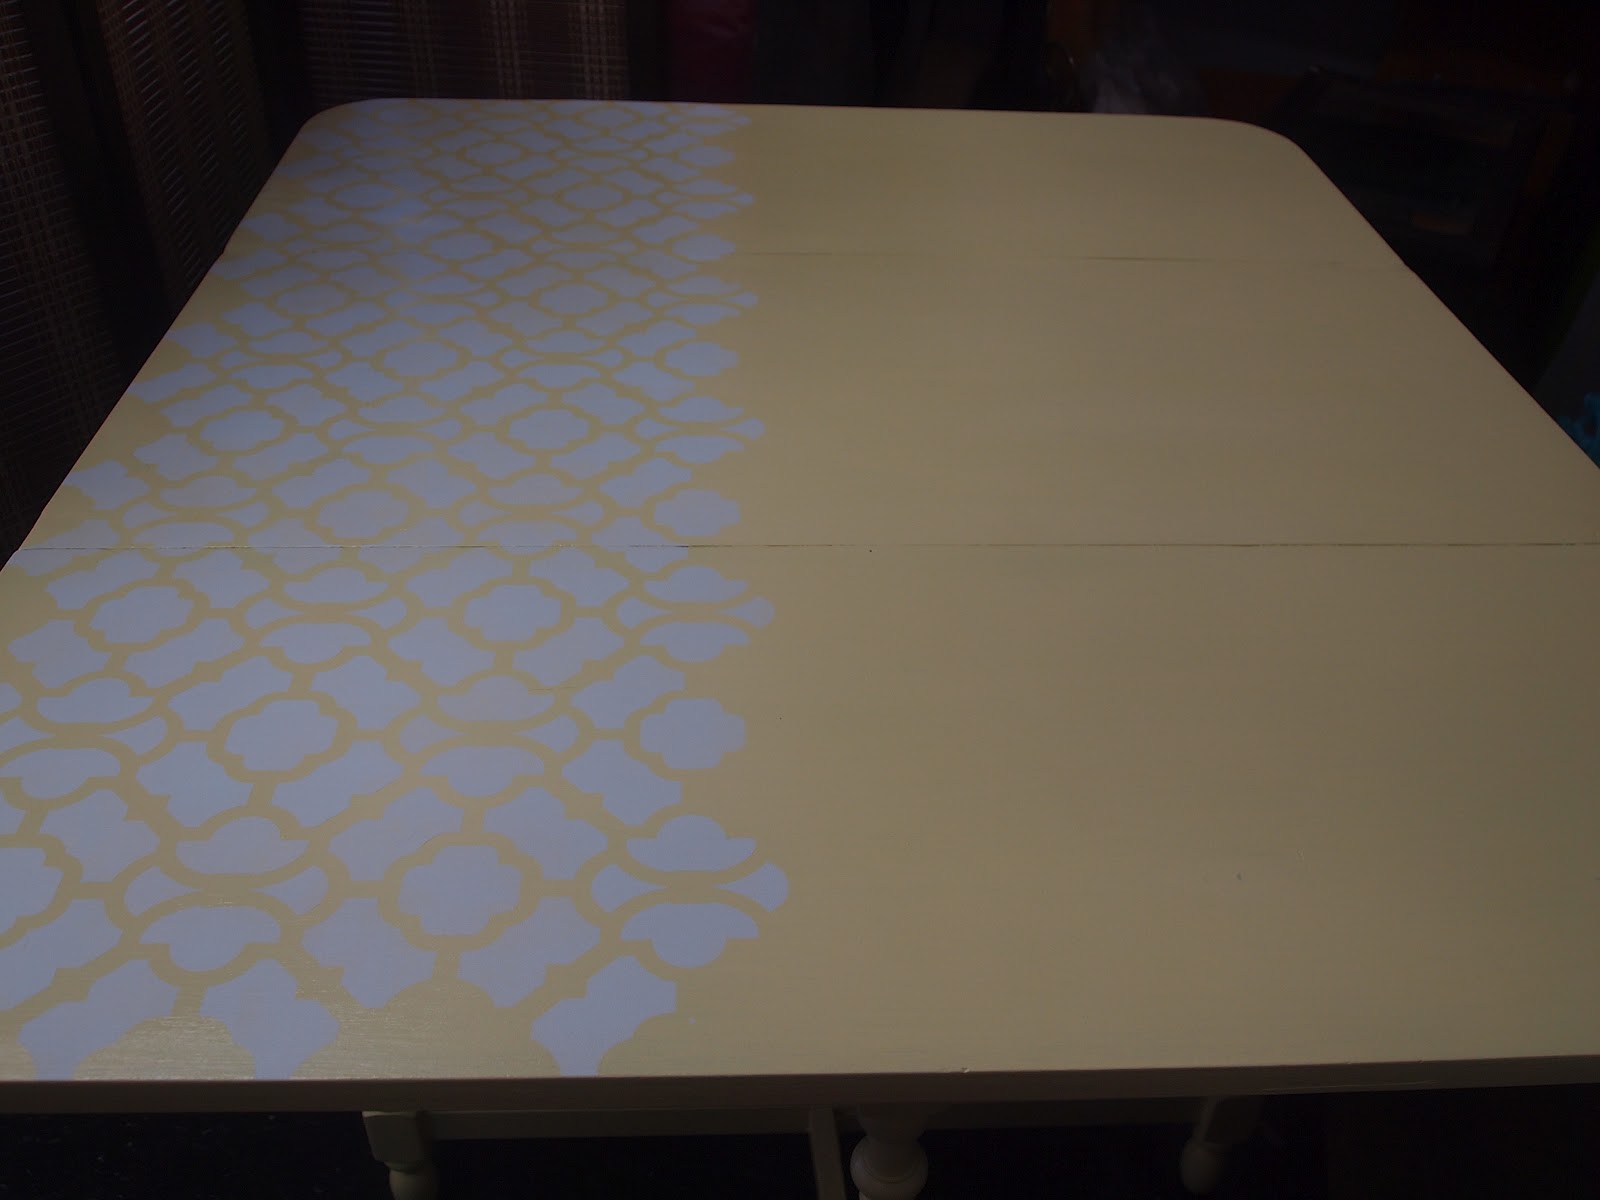 |
| I thought about stopping here and just having the stripe, but I decided to commit and finish the whole top. |
 |
| Make sure to clean your stencil in between rolls or you won't be able to line it up easily. |
 |
| Success! |
 |
| Detail with the edges added. |
 |
| 5 hours of painting later... |
 |
| The finished product. Sold at our Grand Opening Party for $150. |
If you would like a custom painted dining room table email me at galeriactr@gmail.com or leave a comment and I would be happy to make that happen for you. Happy stenciling!
No comments:
Post a Comment